
Lighting and Posing Tips for Maternity Photographers
After years behind the camera, something shifts. The technical stuff becomes second nature, and your attention starts to move elsewhere, to the details that really shape an image. You begin to notice the way her hand settles just beneath the bump without thinking, how her partner looks at her when she’s not aware of it, or the way light glides across her collarbone when she slightly turns her chin. That’s where the magic lives. That’s the shift I want to talk about.
This guide is for maternity photographers who’ve already nailed the basics but are ready to step deeper into what makes a maternity portrait sing. You want to know how to make your subject feel radiant and powerful, how to sculpt light around a curve without flattening it, how to tweak a pose by a few inches and make someone cry happy tears when they see it. That’s the level we’re aiming for.
Posing Tips That Flatter Begin with Body Language
We can all agree that “Just relax” is the least relaxing thing you can say to someone who’s never been in front of a camera while growing a human. A big part of maternity photography is not about how you pose someone. It’s how you guide them into a moment where they stop performing and start feeling.
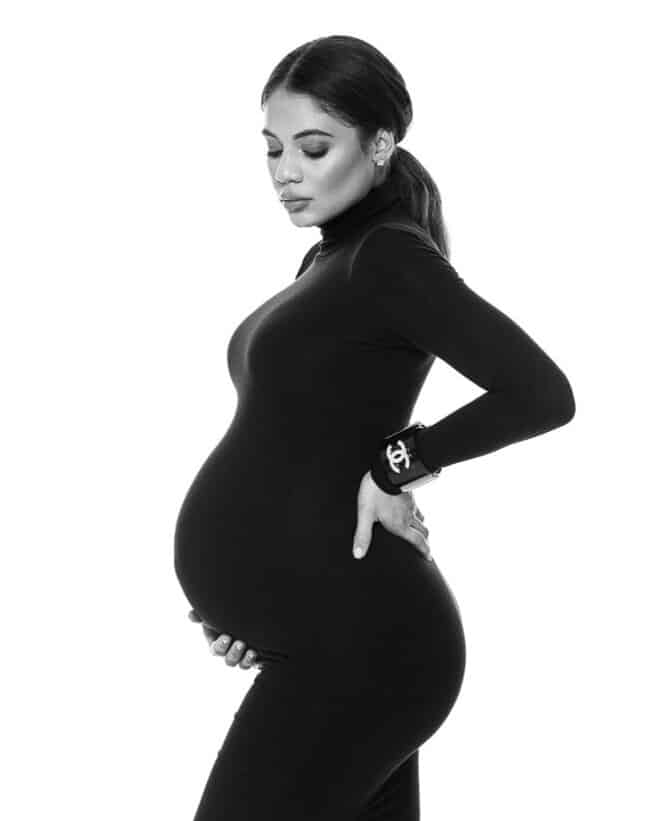
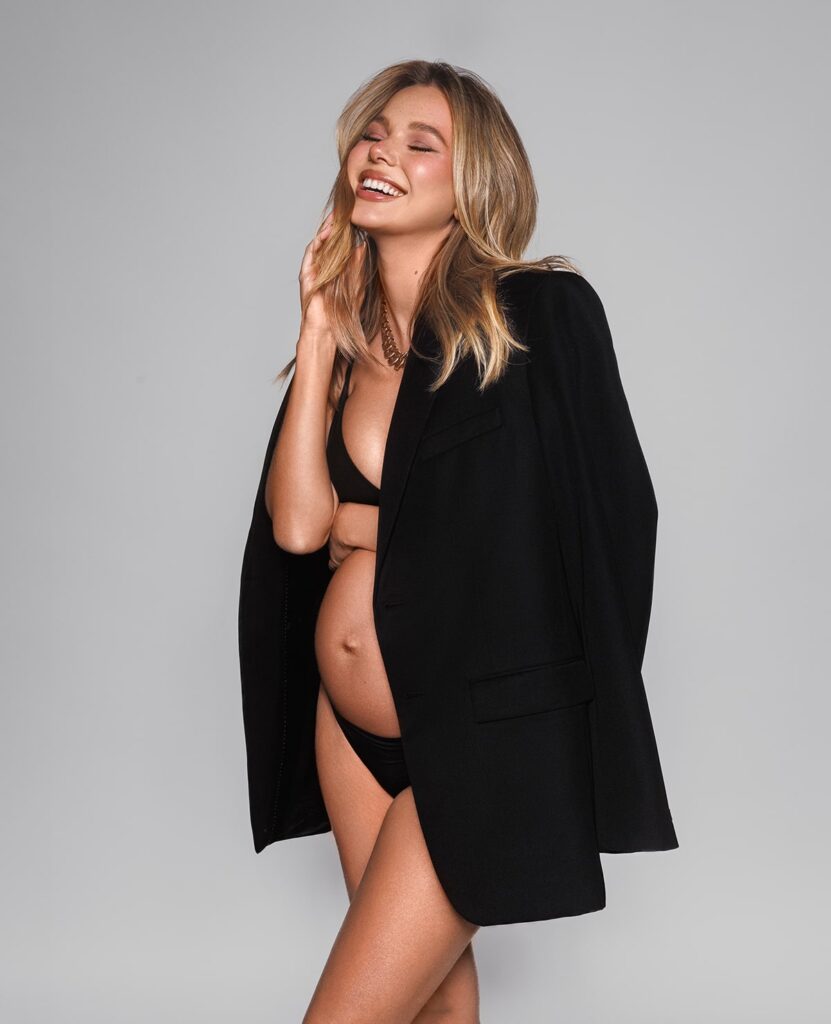
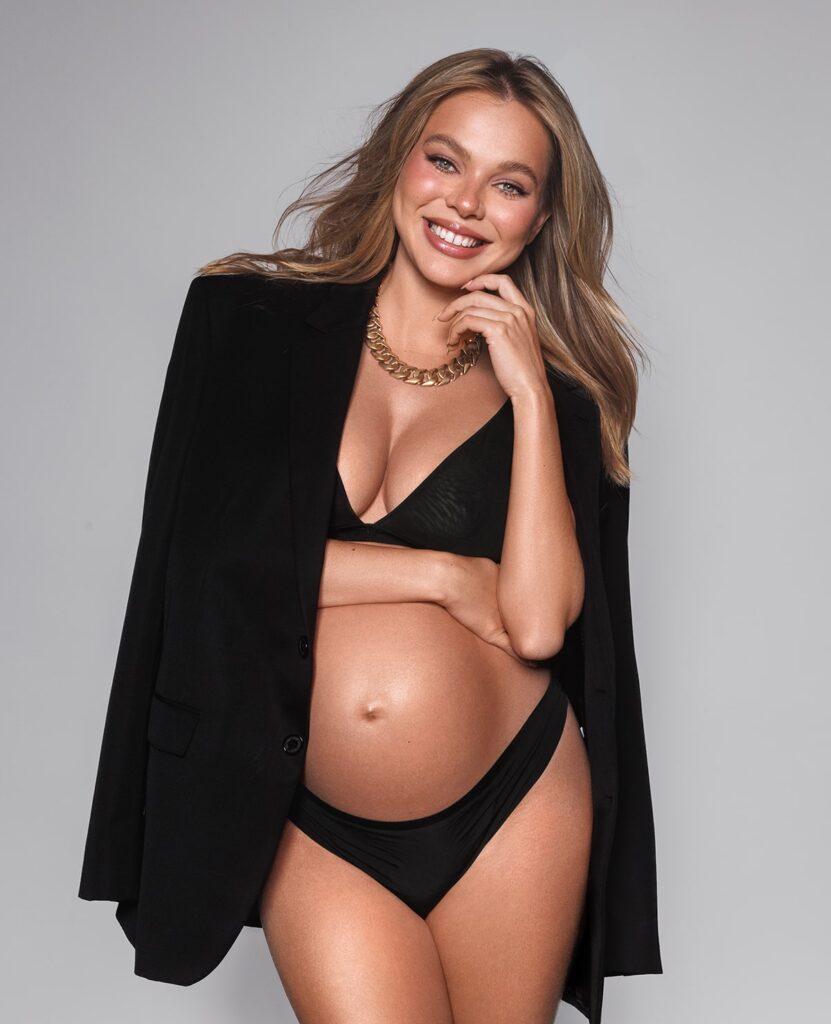
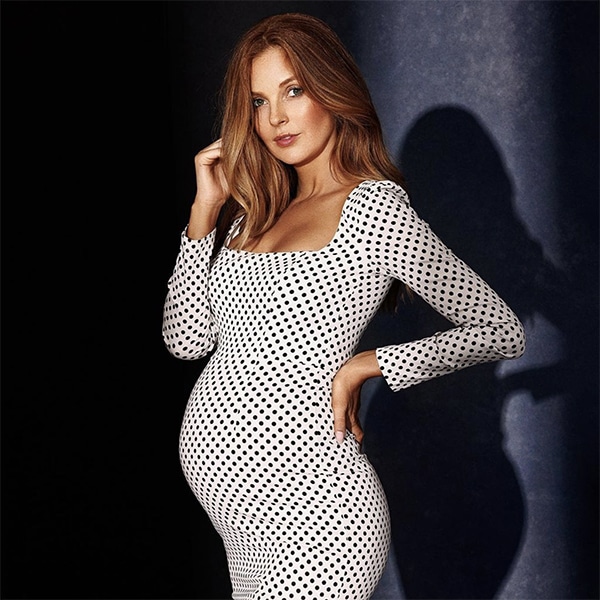
Pregnant bodies carry a unique kind of posture. They’re protecting something precious, but also navigating a new sense of center. Shoulders tend to draw back, hands hover around the belly instinctively, and there’s a different rhythm in how they move. If you’ve been shooting for a while, you start to notice when someone’s body language is working against the image instead of enhancing it. A lifted shoulder can make a collarbone disappear. Standing too rigid can make them look stiff, or worse, uncomfortable.
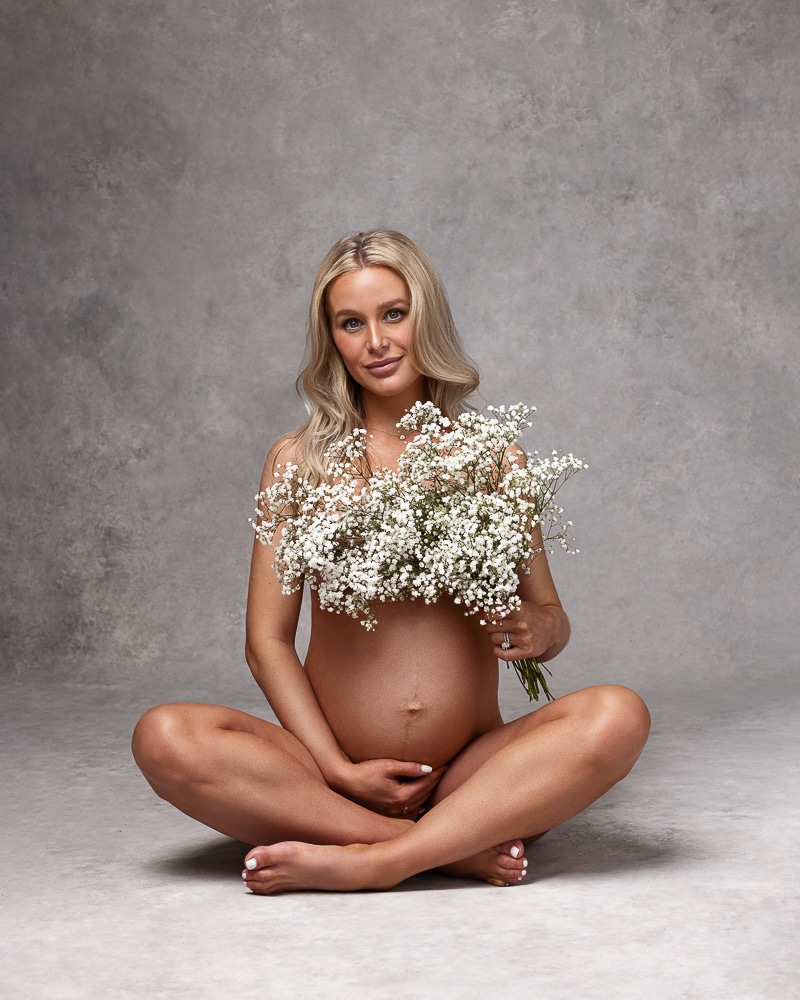
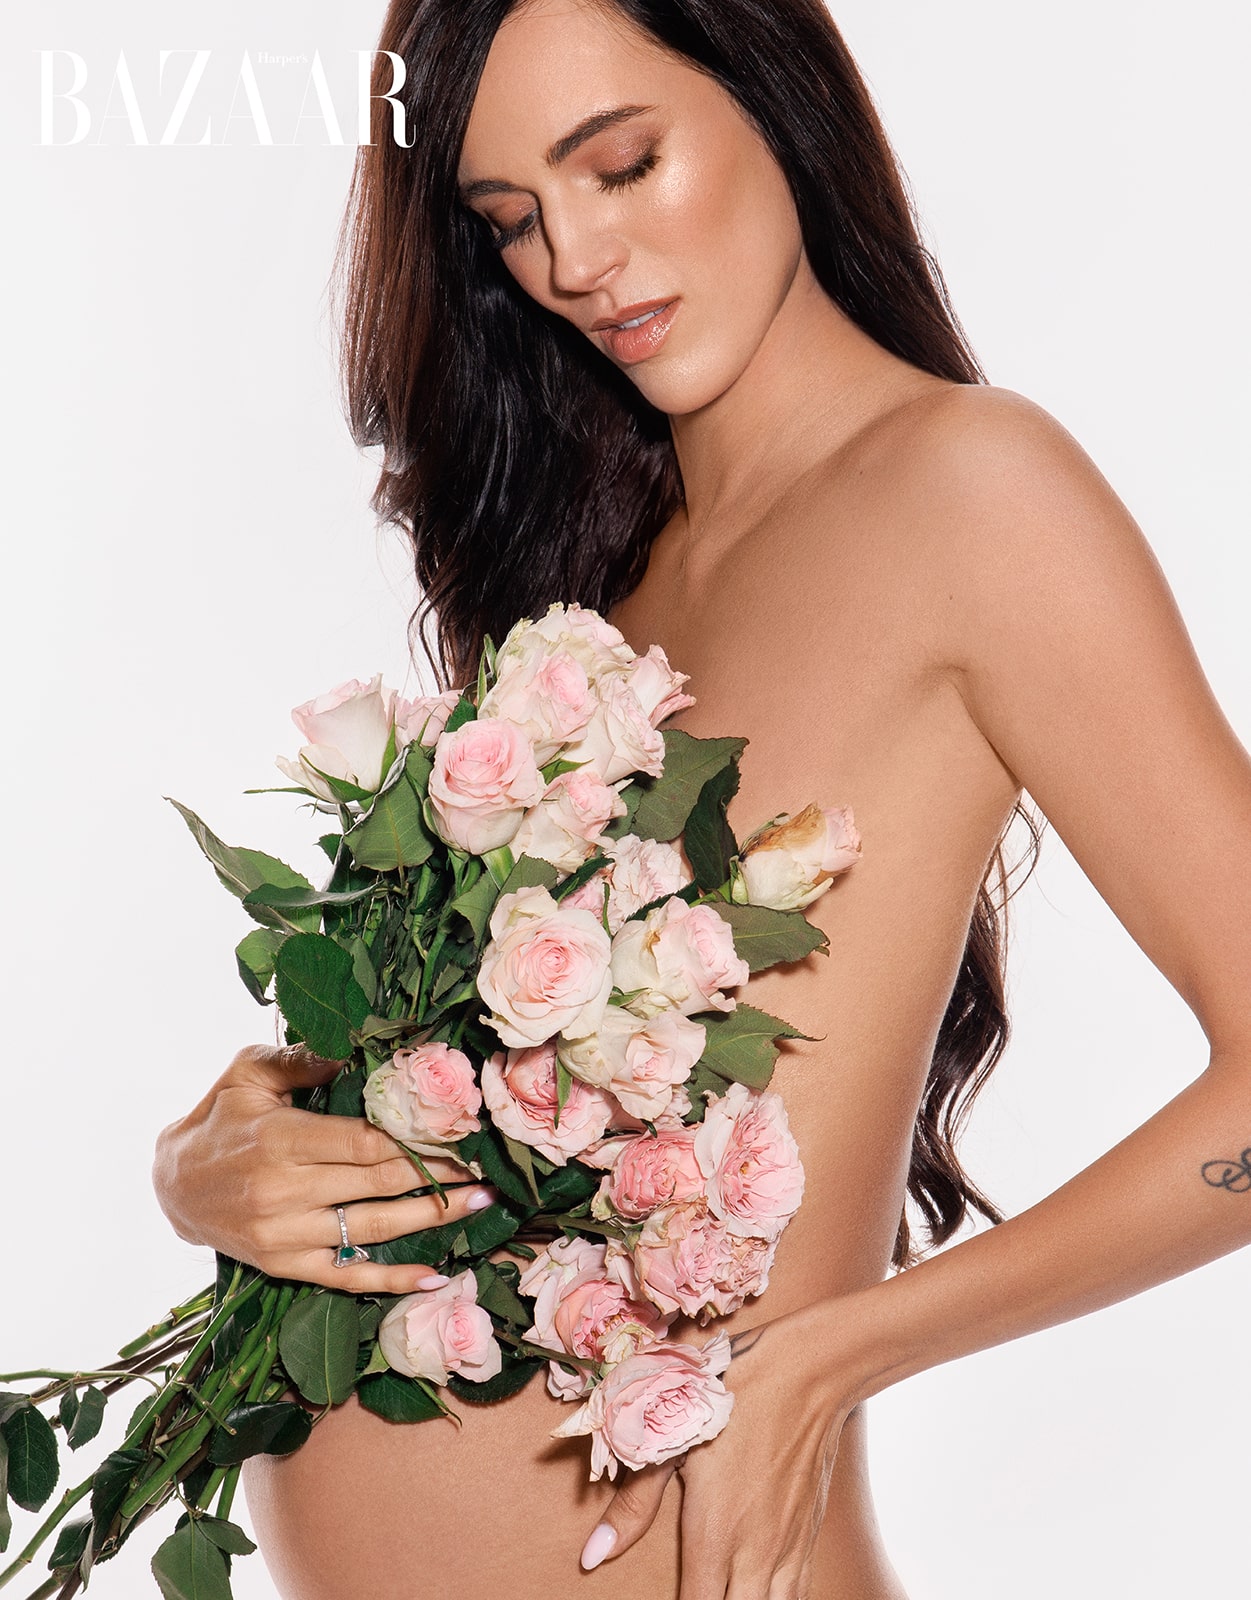
Start by observing where their hands naturally go. Then give a tiny suggestion “let that hand rest just under the belly, not pressing, just holding” and watch the energy shift. The difference between a flat palm and relaxed fingers is enormous in a maternity pose.
Shift Their Weight, Guide the Chin
“Okay, now look happy!” isn’t going to cut it. Instead, say something that gives her a feeling, not an instruction. Try this: “Close your eyes and think about the moment you tell your baby this story someday.” Then quietly shoot through her reaction. The genuine expressions come when they stop thinking about the camera and start living in the moment.
Keep the directions soft and continuous. Don’t freeze them in a pose like a sculpture. Instead of “stand like this,” say, “Shift your weight onto your back leg, let your front toe float a little, now bring your chin slightly away from the camera. Good. Just breathe there for a sec.” The more you guide like you’re walking them through a feeling, not a photo, the more natural it’ll look.
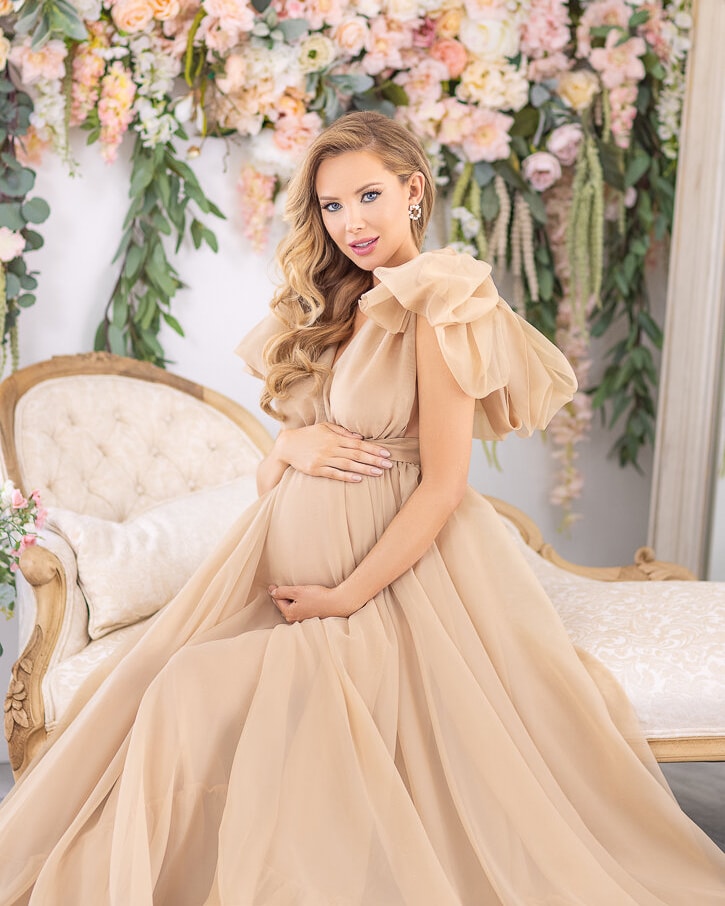
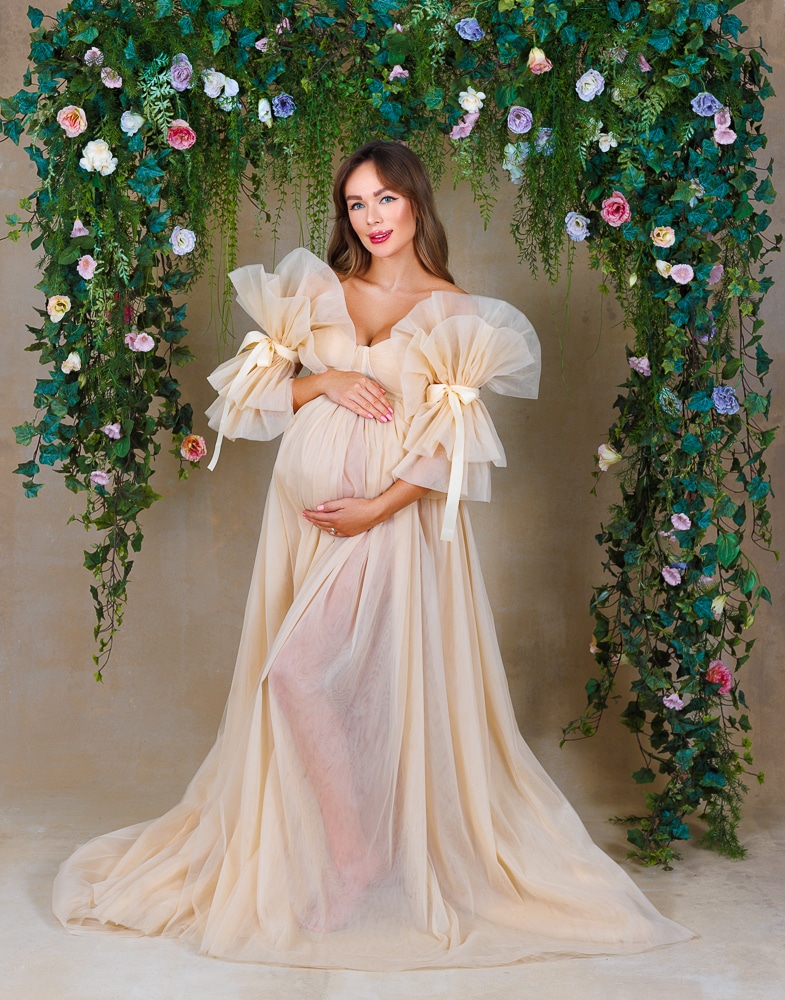
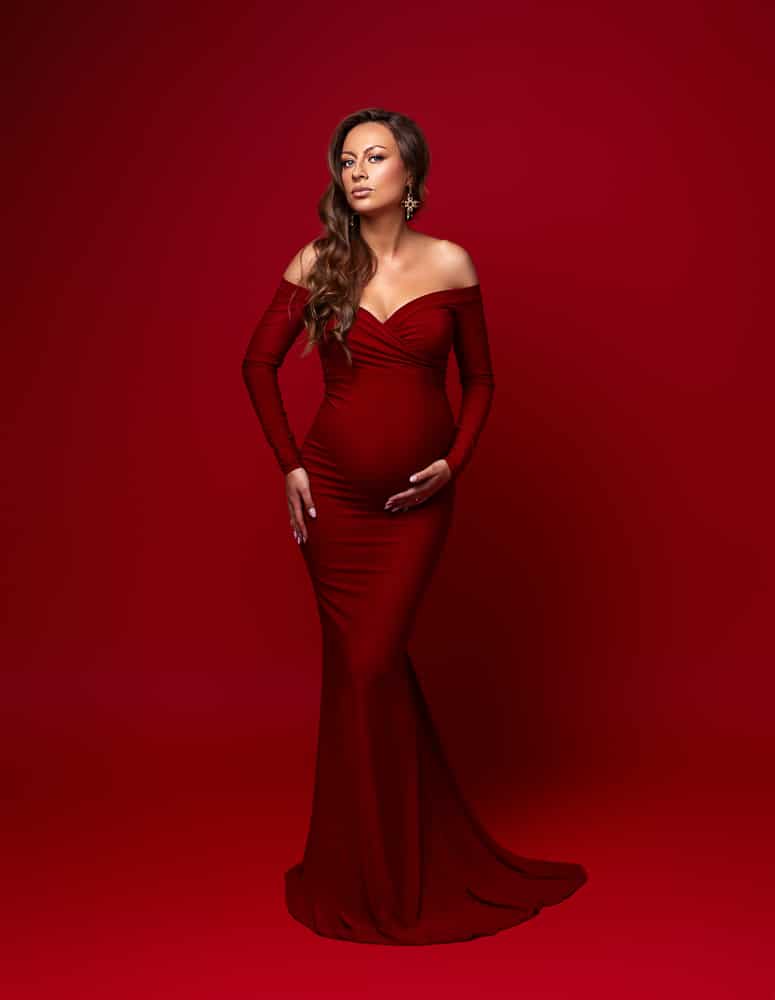
Every trimester shows differently. Earlier pregnancies might need more sculpting light or hands that cradle the belly to make the bump pop visually. Later stages, especially in the third trimester, can create more pronounced curves, so pay attention to angles. A slight turn of the torso away from the camera and then chin back toward you can help flatter and define the silhouette.
With plus-size bodies, light and camera angle matter even more. Avoid lighting from below, which can exaggerate roundness. Instead, keep the light high and soft, use a 45 degree angle to the subject, and invite slight movement forward from the waist. This tightens the posture without making it feel forced. And always check where the hands land, placing them creates a natural frame and helps define the belly shape with intention.
Remember, your voice is part of the photoshoot. The tone you use, the pace at which you speak, even the way you breathe, it sets the emotional temperature. If you’re calm, warm, and present, your subject will mirror that. And when she’s relaxed, the images show it.
The way you phrase things matters too. Say “You’re doing amazing” more often than “Hold still.” Instead of correcting posture harshly, say, “Let’s try a version where your shoulders float forward just a bit.” That small tweak makes the difference between someone feeling directed and someone feeling seen.
Creating Photogenic Flow
Movement is magic. If your subject looks like a statue, you’ve missed the heartbeat of the session. The key is making motion feel intentional and effortless at the same time, like she’s simply living in the moment, not performing for the camera.
Some of the most stunning maternity images come from micro-movements. A slow walk where she shifts her weight to one leg, lets the back foot float, then glides forward again. A simple gesture, like brushing her hair back or adjusting the fabric of her dress, can bring a pose to life. These little shifts, so easy, so instinctive, create motion that feels real, not posed. That’s where the emotion sneaks in.
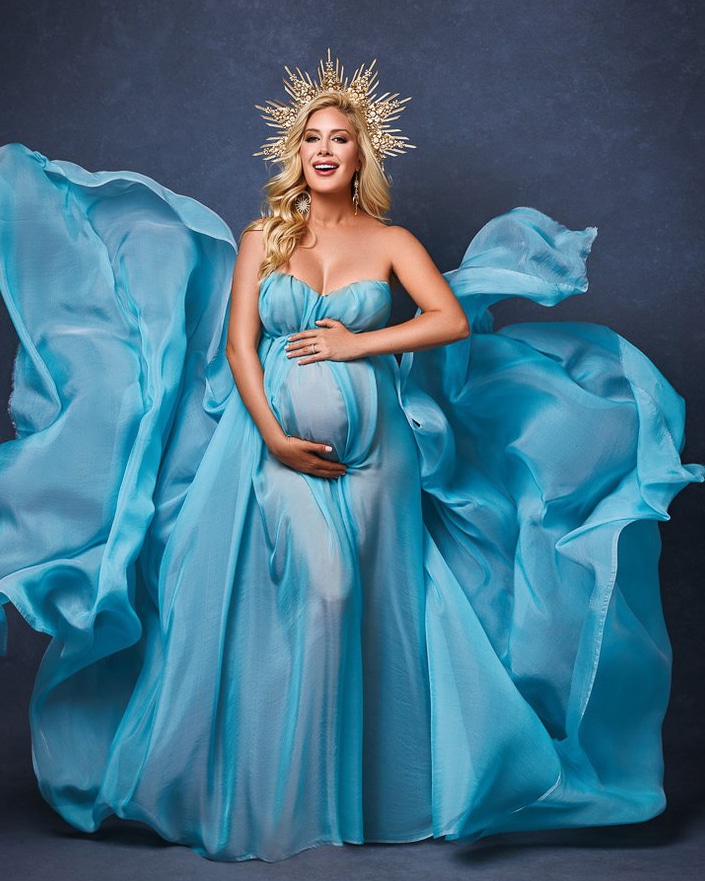
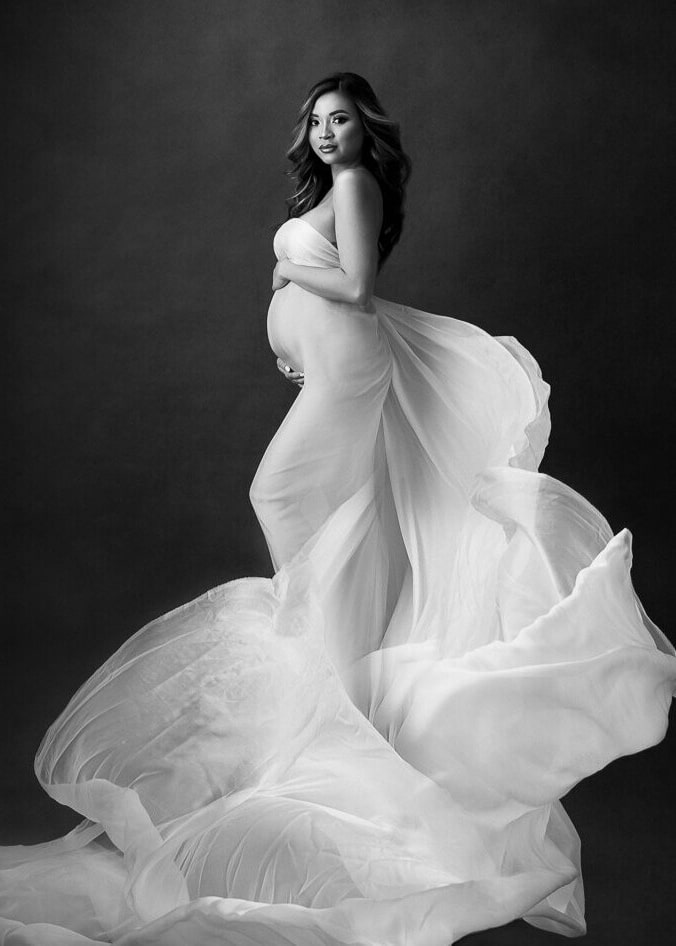
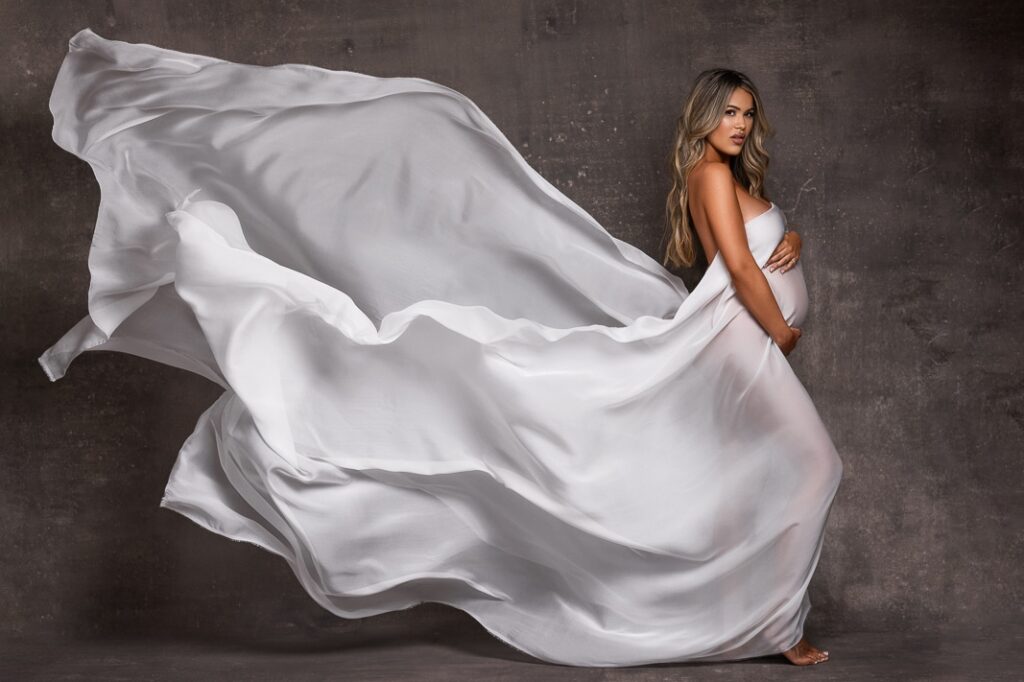
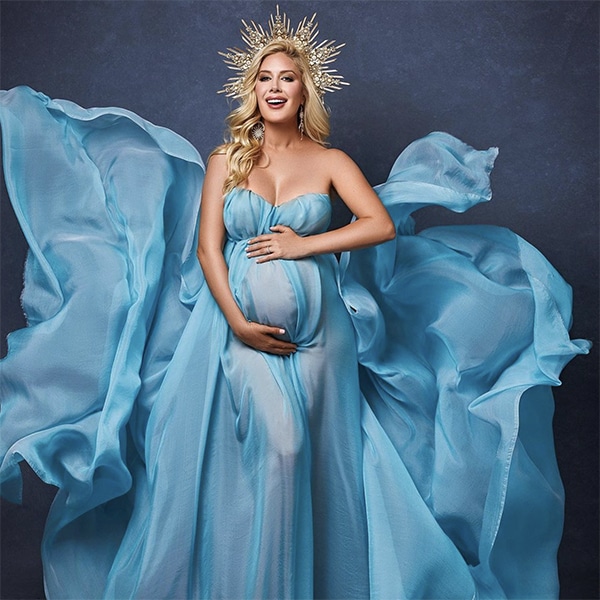
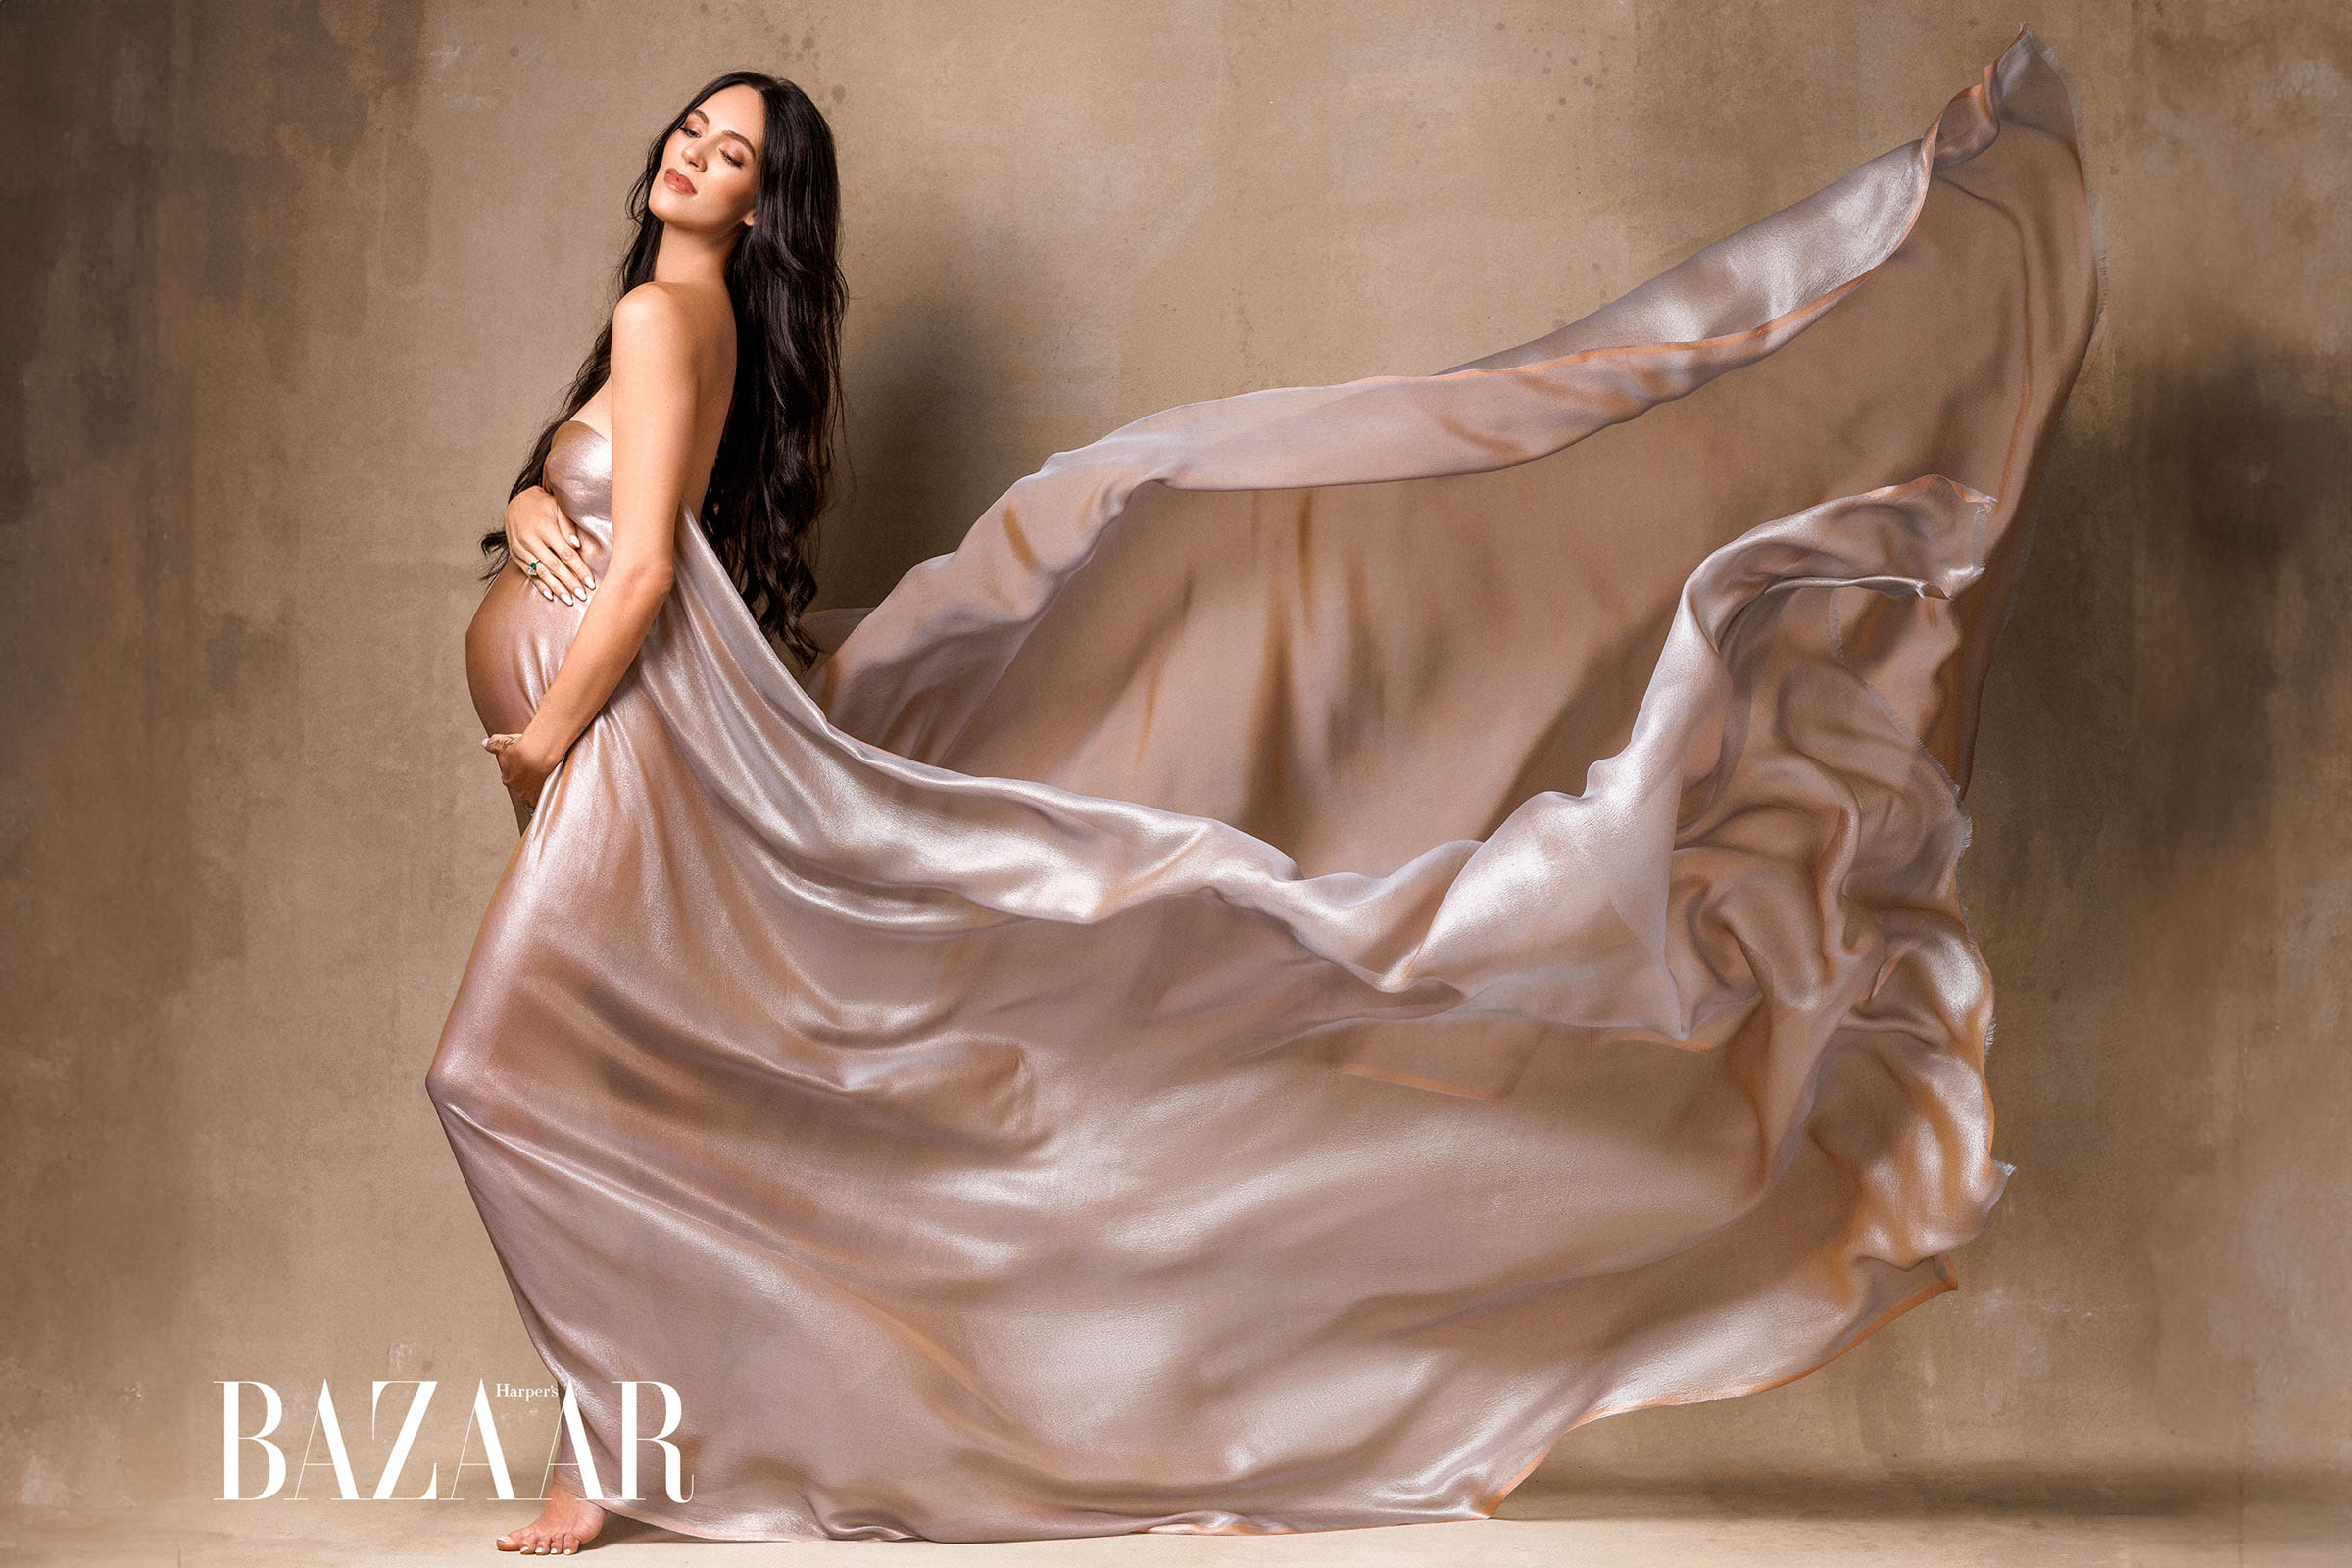
If she’s wearing something flowy, use that fabric to your advantage. Have her do a soft spin or a slow turn, not a dramatic twirl, just enough to catch the hem in motion. Time your shutter right as it wraps back around her body. That’s the shot you’ll keep going back to.
But don’t rely on luck when it comes to fabric. You can’t just hope the dress falls perfectly, you have to shape it. Before you shoot, take a moment to observe how it behaves. Is it stiff? Does it cling? Does it catch light or drift in the air? Once you know, guide her movements accordingly. A slow walk toward the camera can reveal where the drape naturally creates elegant lines.
And if it needs a little help? Step in. Toss the fabric gently just before the shutter clicks, or have her partner or assistant lift and release it behind her. Done well, it adds a cinematic element that feels elevated but still organic. The trick is keeping it believable, never stiff, never gimmicky, always part of the story.
Shooting Through Moments vs. Shooting at Moments
You know those photographers who wait for the pose and click once? That’s not the way here. Shoot through it. When she’s transitioning between poses or laughing at something you said, those are gold. That’s where the story lives.
Use burst mode when she’s mid-walk, adjusting her sleeve, or brushing her belly. You’ll catch gestures that are pure instinct, like the slight lean into her partner or a flick of the wrist when she moves the hem of her gown. The timing is everything, and anticipation is your best tool.
Layering Movement
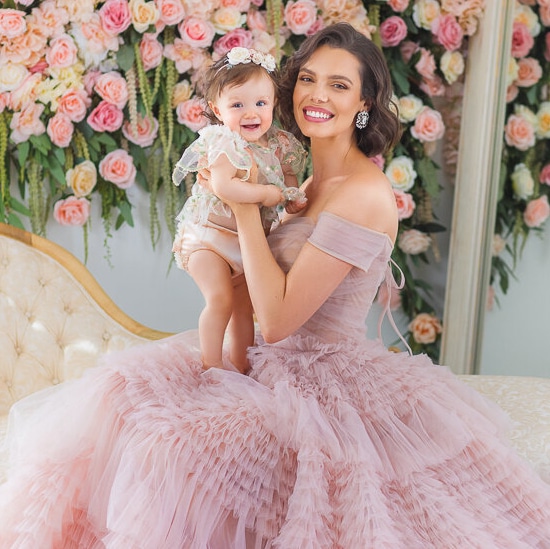
When it comes to including partners or kids, it’s less about having everyone smile at the camera and more about creating a rhythm between them. Have them walk together, then have her pause while the partner continues forward. This creates a narrative flow of together, then apart, then reuniting. It keeps the story moving and the images more dynamic.
Little kids? Let them run around mom. Don’t stress about wrangling them too tightly. Instead, capture the chaos lovingly. Ask the partner to whisper something to her as she looks at the bump. These aren’t stiff family photos. They’re layered moments. And when they fall into place, it’s visual poetry.
Composition Techniques for Maternity Photography
When you frame a maternity portrait, you’re not just organizing the elements, you’re guiding emotion. Visual hierarchy tells the viewer where to look first and where their gaze should travel next. A softly lit bump cradled by relaxed hands can be the primary focal point, while a gentle gaze or an elbow extending slightly forward can lead the eye into secondary details. The way the viewer experiences the image depends on how you place these subtle cues. It’s about layering elements so the story unfolds moment by moment, never all at once.
Start by deciding what matters most in that frame. Is it the curve of the belly? Her facial expression? The interplay between light and posture? Once that’s clear, position the rest of the frame to support that point. You can guide the eye using lines in the environment, body positioning, or selective depth of field. A hand toward the camera, or a slight bend in the back leg, can direct attention and add dimension without needing props or distractions.
Rule of Thirds and Golden Ratio
Most maternity photographers learn the rule of thirds early on, but with maternity work, it becomes a much more nuanced tool. Placing the belly right on one of those intersecting lines automatically draws focus without screaming for attention. Her gaze, if it falls across another intersection, creates balance and flow. It helps avoid stiff or centered compositions and adds quiet energy to the portrait.
The golden ratio takes this one step further. It allows for spiraled energy within the frame, a more organic structure that mimics how we perceive beauty in nature. When a mother’s body is curved gently along the spiral, and her hands fall near the tighter coil of that shape, you get an image that feels composed without looking composed. It’s not about making the photo mathematical, it’s about using these tools to create harmony that feels effortless.
Negative Space as a Storytelling Element
Negative space is powerful when used on purpose. It lets your subject breathe inside the frame and makes everything feel more intentional. A minimalist background with your subject off to one side tells a very different story than a tight crop with no space around her. That quiet emptiness can say anticipation, solitude, strength, or all three. It also allows the viewer to bring their own emotion into the photo, which gives it longevity.
Choosing Symmetry or Asymmetry for Impact
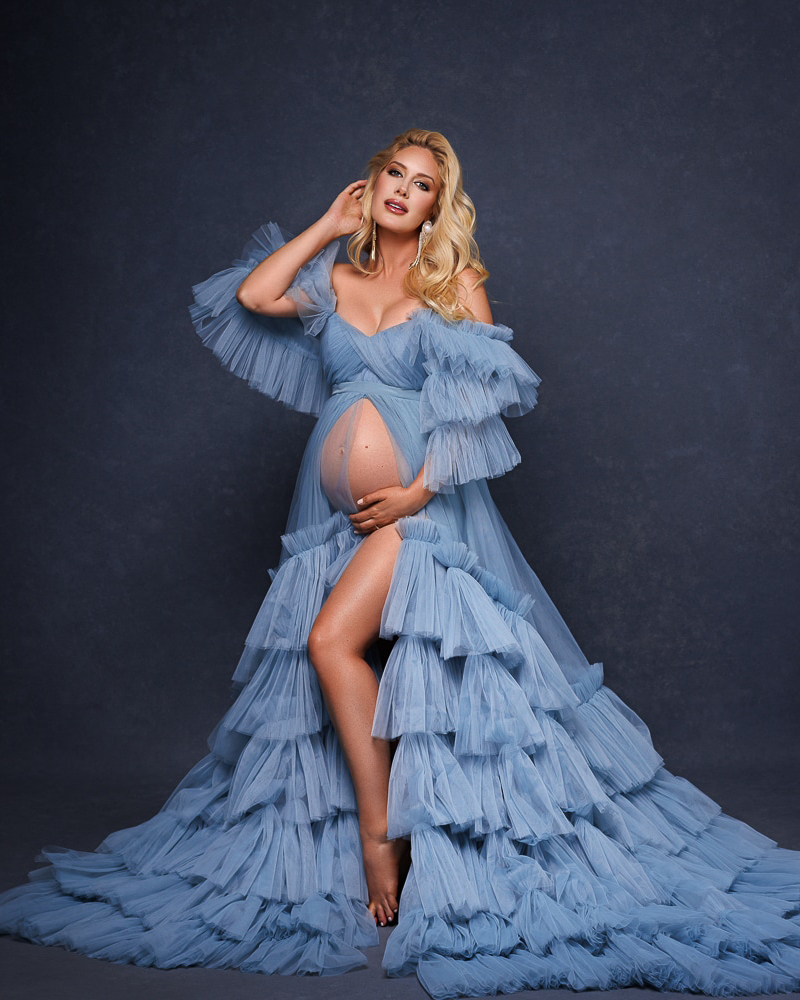
Symmetry can give a portrait a calm, balanced feeling. If she’s standing in a doorway or between columns, let her center herself and soften her arms and gaze. It makes her appear grounded and strong. But don’t stay in symmetry if it starts to feel predictable. Asymmetry has energy. It adds visual interest, especially when a subject shifts her weight onto one leg, leans slightly to one side, or tilts her chin just a bit off-center.
The key is being aware of your frame. A perfectly centered bump paired with a slight head tilt can break the symmetry just enough to keep it human. If her shoulders are turned at a 45 degree angle, and one hand is resting around the belly while the other lifts the hem of a dress, you get movement, interest, and narrative all at once.
Creating Multi-Layered Images with Depth and Interaction
Depth gives portraits dimension. You don’t want everything on the same visual plane. Have her stand tall but step slightly forward from the background. Use reflections, windows, mirrors, even polished floors, to add unexpected angles. A blurred shoulder in the foreground or a soft shadow across the frame can bring more realism and richness to the image.
Layering doesn’t just mean visual layers, it means emotional ones too. The more intentional you are with what surrounds her (and what doesn’t), the more complex the image feels. It encourages a viewer to pause, not just glance.
Color Harmony as a Compositional Tool
Color shapes how an image feels. Warm tones can bring softness and emotional depth, while cooler palettes introduce calm and quiet. Pay attention to how the dress interacts with the light, does it reflect, absorb, or catch the shadows? If her skin has warm undertones, steer toward earthy or pastel palettes. If you’re using bold color, make sure it doesn’t overpower the shape or story.
The flow of color should mirror the visual movement of the image. Let the tones carry your eye across the frame. A soft pink gown against a warm neutral backdrop with gold undertones in the highlights creates a compositional flow that’s seamless, not jarring. It all connects, pose, light, and color, to create a single experience.

Mastering Light Ratios in Studio Maternity Portraits
Light ratios define contrast, and contrast defines mood. A 2:1 light ratio gives you soft shadows that contour the body without overwhelming it. A 4:1 ratio introduces deeper shadows, which can make the image feel more intense, more sculpted. You can measure it with a light meter, but more importantly, learn to see the transitions. Does the shadow fall softly down the cheekbone? Does the light kiss the bump just enough to separate it from the torso?
Balancing light across the face and body is key. Too even, and you lose shape. Too dramatic, and you risk losing the subtlety of the expression. Keep your main light high and off to the side. That position naturally helps the neck look longer, the chin look more defined, and the body feel more three-dimensional.
Multi-Light Setups for Depth and Precision
A three-light setup gives you clarity. Main light, fill, and background or rim. A fourth light? That’s where you can get creative. Maybe it adds texture to the background or brings just a touch of highlight to a dress. You’re sculpting in layers. If the key is at 45 degrees and feathered, and your rim sits behind at shoulder height, you can separate the subject cleanly while keeping softness in the front.
The trick isn’t more light. It’s more thoughtful light. Every added source should have a purpose, separation, shaping, texture, glow. Avoid lighting everything evenly. That’s what makes the image feel flat.
Lighting Fabric
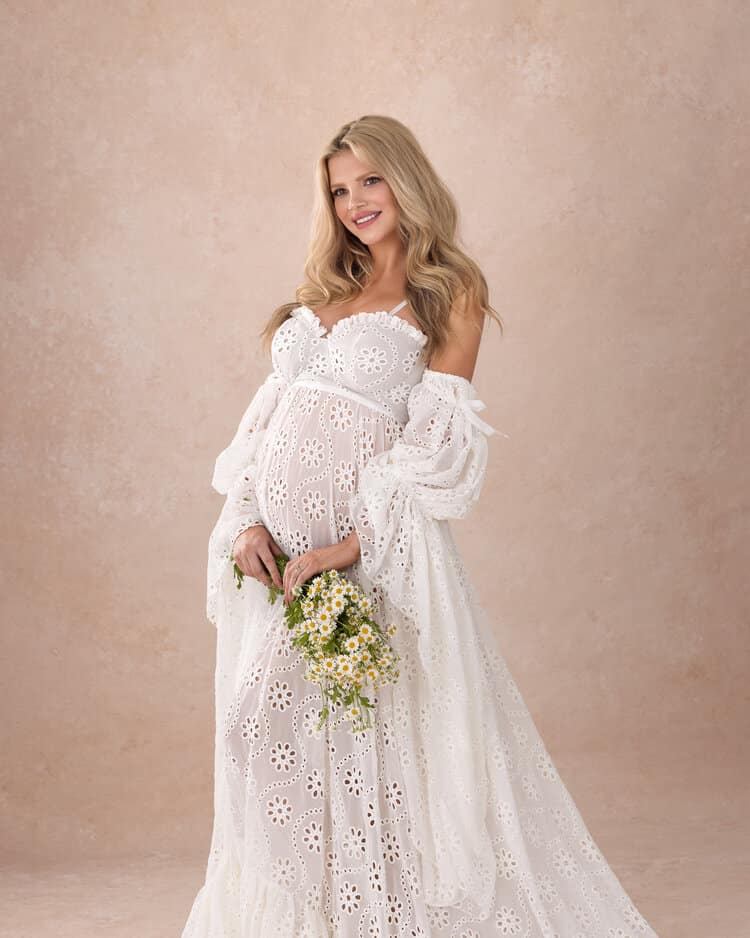
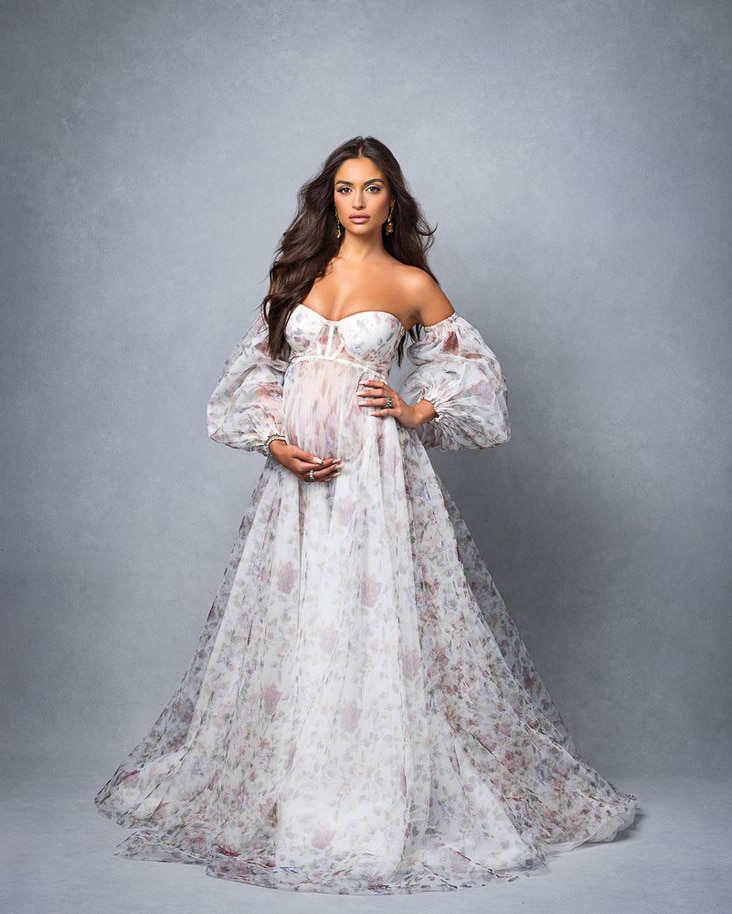
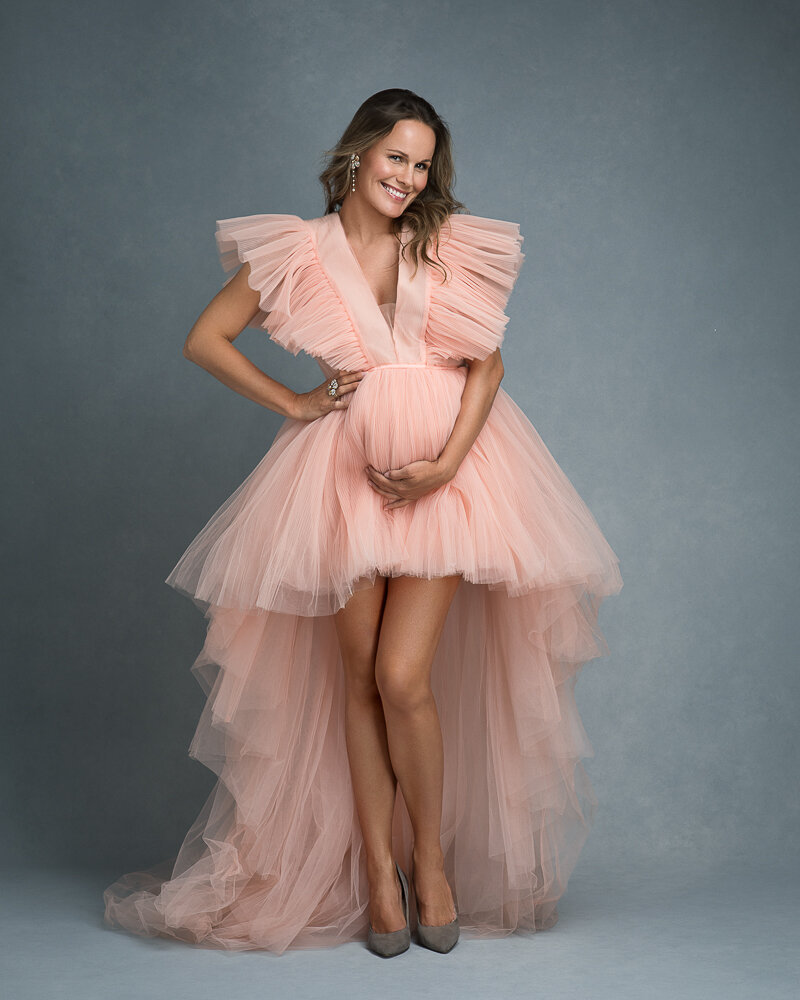
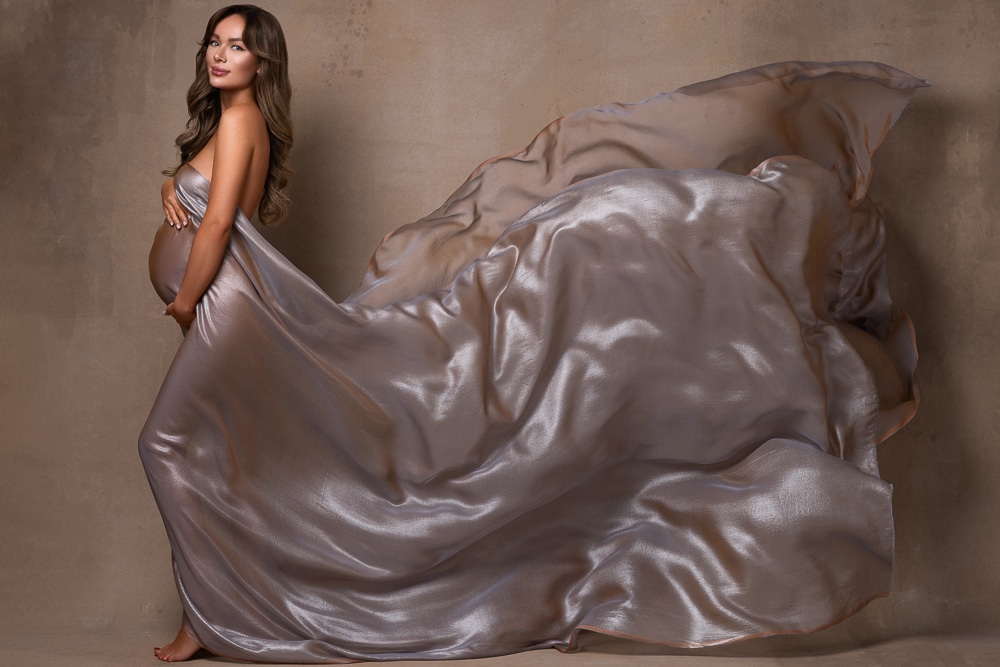
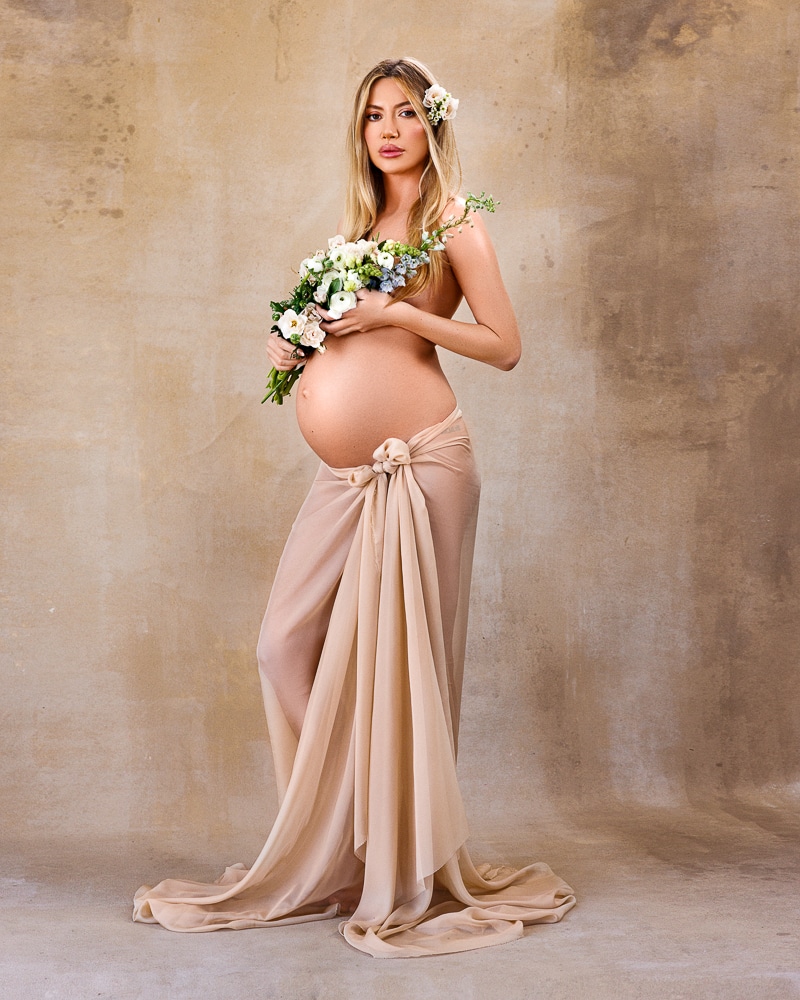
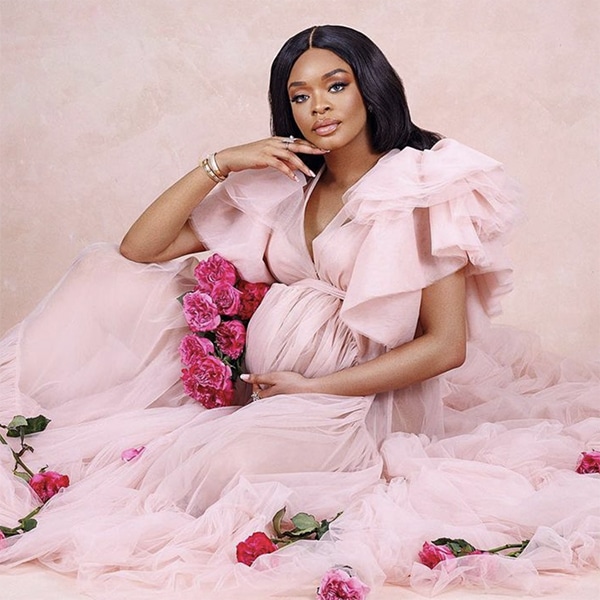
Sheer gowns catch backlight like magic, especially when you place your subject just off center from the light source. Let the fabric breathe, use a fan, a soft breeze, or the gentle motion of a hand to create movement that feels fluid. Transparency becomes a storytelling tool when the light is angled just right to reveal, not expose. With silk, you’ll want to avoid harsh sheen. Use soft, feathered lighting to make it look flawless without stealing the show. Lace calls for sidelight, it picks up texture, adds depth, and gives you a flattering angle that shows how the fabric hugs the body in the most elegant way.
Let the way fabric flows help guide how you position your subject. The drape of a dress can hide tension in the arms and legs, frame the bump beautifully, and help your subject look more photogenic just by keeping visual rhythm through the image. Whether your subject is facing the camera straight on or turned slightly to give a slimmer profile, how that fabric interacts with light can make all the difference in how the photo looks, and feels.
Posing and Small Adjustments with Big Impact
The way you look in photos often comes down to the tiniest details. Micro-posing helps you make subtle changes that bring out your subject’s best features while avoiding anything that might make them look stiff or uncomfortable. Adjusting the angle of the head away from the camera just a little can instantly flatter the jawline and help reduce the dreaded double chin. Ask your subject to gently bring their ears forward and elongate their neck. It’s one of the best tips for a clean, confident profile.
Shifting weight onto one leg and adding a slight lean forward from the waist can help your subject look taller and create a more dynamic look. Pay attention to posture, shoulders forward slightly, chin tilted (but not too much), and hands relaxed. These small adjustments, done in sequence, can completely change the way someone feels about how they look in photos. And that confidence shows up in every photo you take.
Creating Natural Movement Through Posing Flow
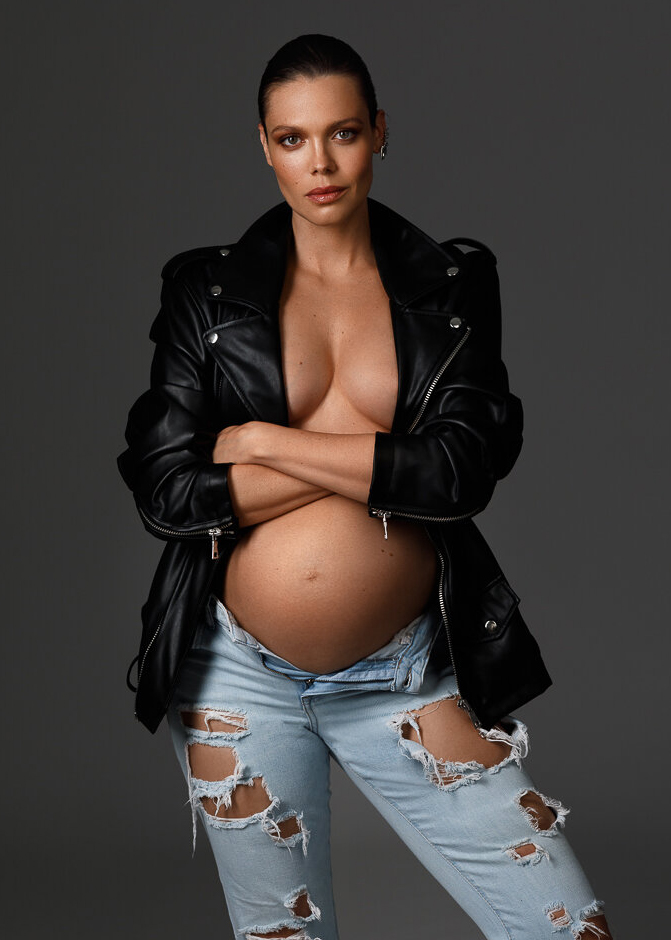
You can always tell when someone doesn’t know how to pose, it shows in their arms, in their face, in the tension through their body. One of the best tips to get natural-looking photos is to keep your subject moving gently. A simple shift of the weight to one side, or crossing the ankles while standing, can take a pose from stiff to graceful. Encourage her to adjust the fabric of her dress or let her hands move gently over her belly. Let her do something instead of just holding a position.
If she’s facing the camera, have her angle her torso just slightly. That little twist adds a flattering angle, helping her look slimmer and adding a lot of visual interest. Instead of rigid poses, keep the flow going. Small continuous motions give you more chances to capture a natural look without having to force a moment.
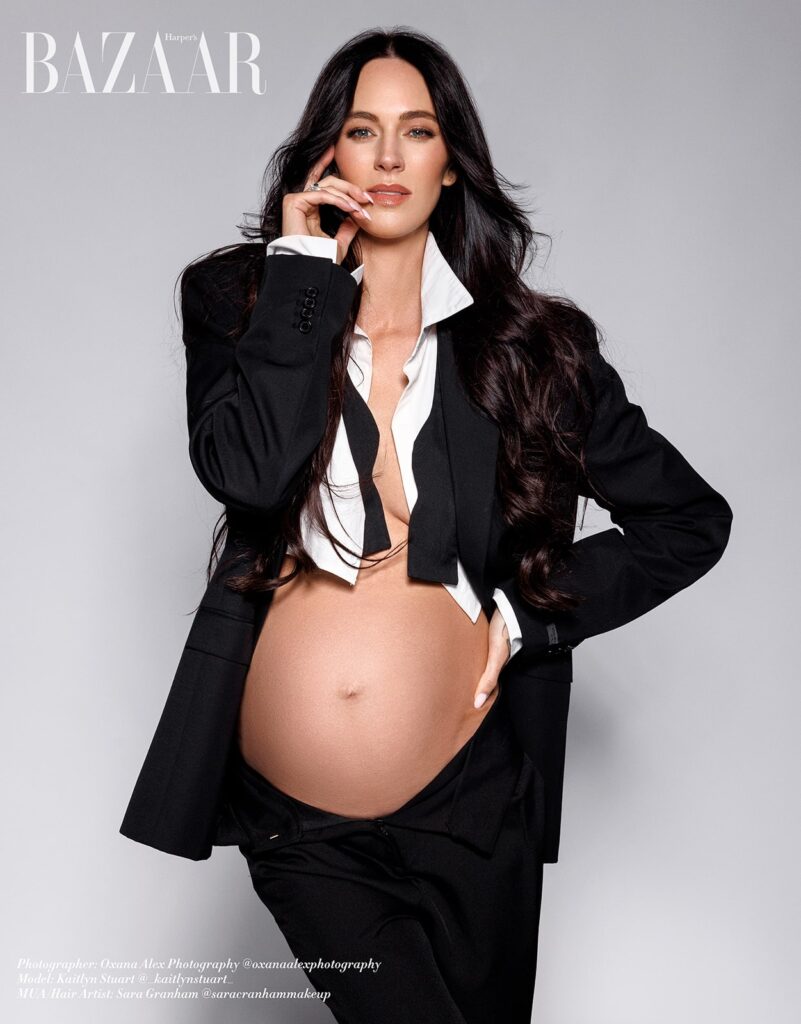
Hand Posing Tips to Avoid Stiffness and Create Natural Emotion
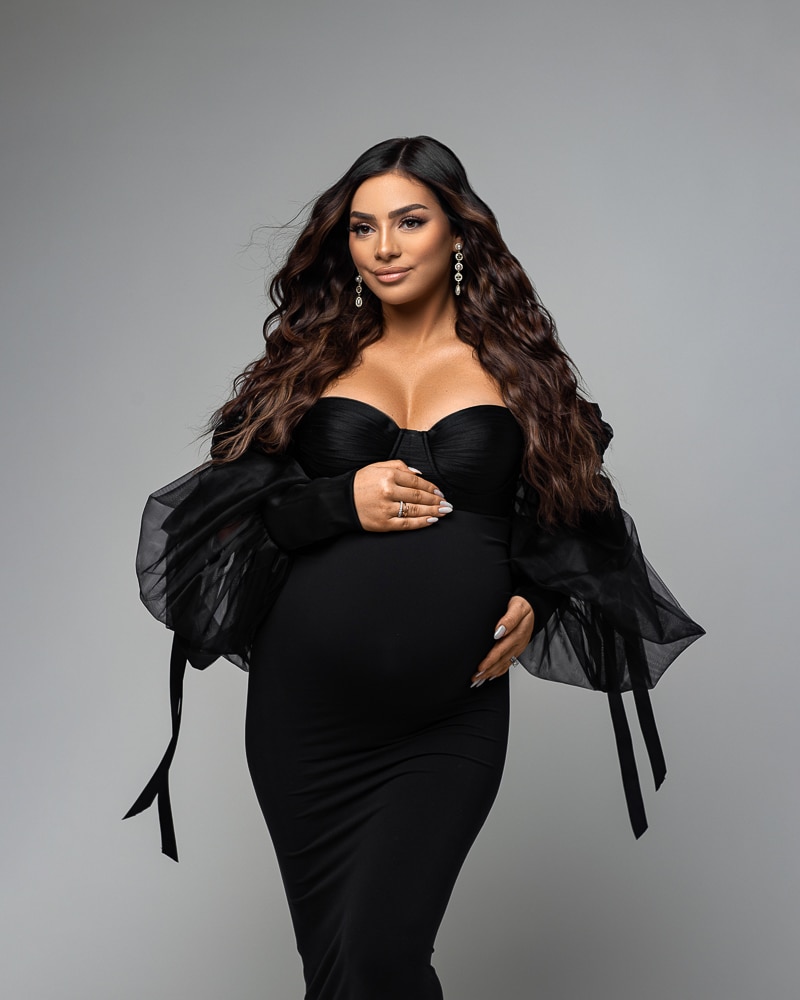
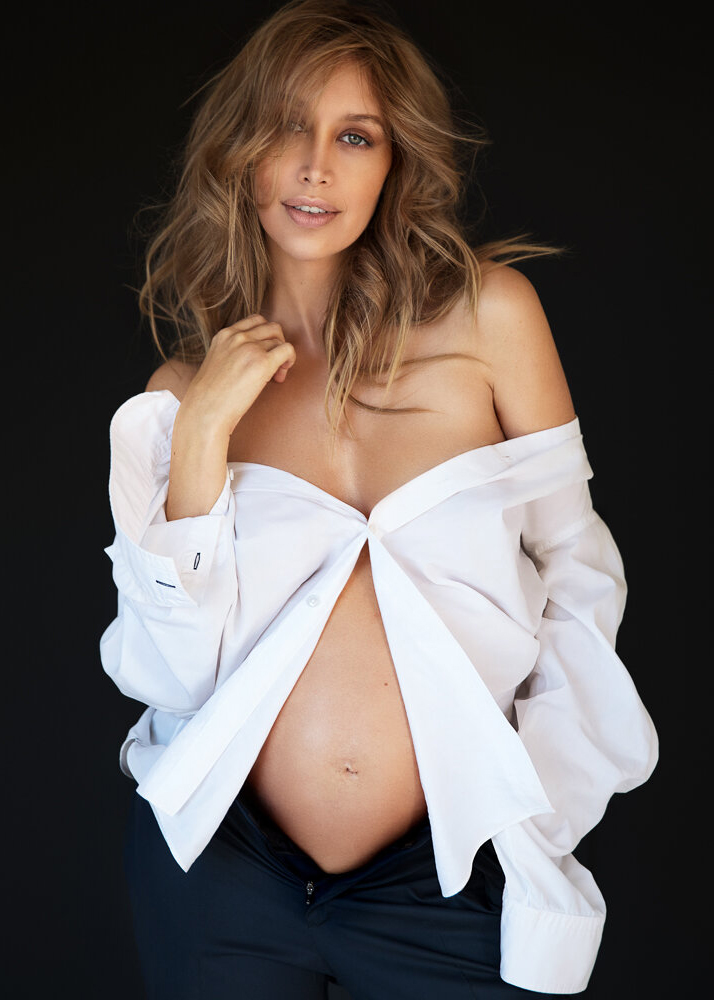
Hand posing is one of the easiest ways to make or break the photo look. When putting your hands into a pose, keep them soft and slightly curved, never flat or pressed. A hand around the bump should feel nurturing, not posed. A slight bend in the wrist and a bit of space between the chest and the arm adds grace and makes the pose feel more photogenic.
Let one hand drift up toward her hair, or near the collarbone, while the other rests below the belly. If one hand is closer to the camera, be extra mindful, this will draw more attention. The fingers should always look relaxed. In group photos, hands can unify or distract. For partners, a hand in your pocket can bring casual balance when paired with a hand gently around the belly. These are the kinds of hand poses that feel lived-in, not forced.
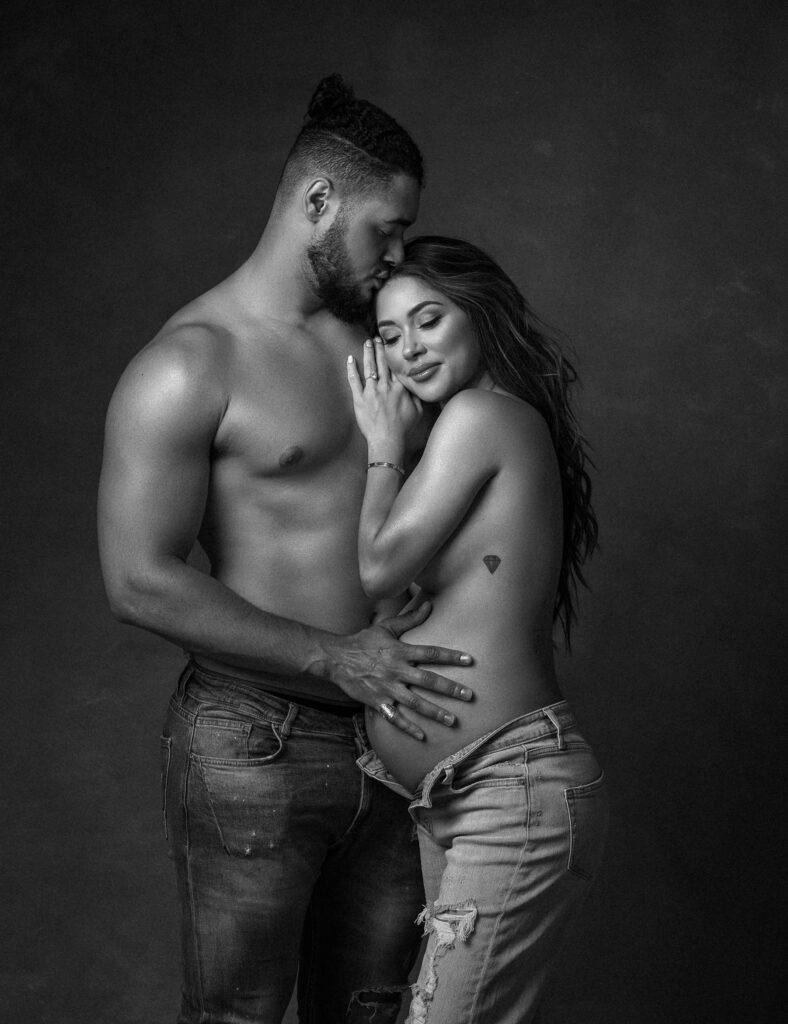
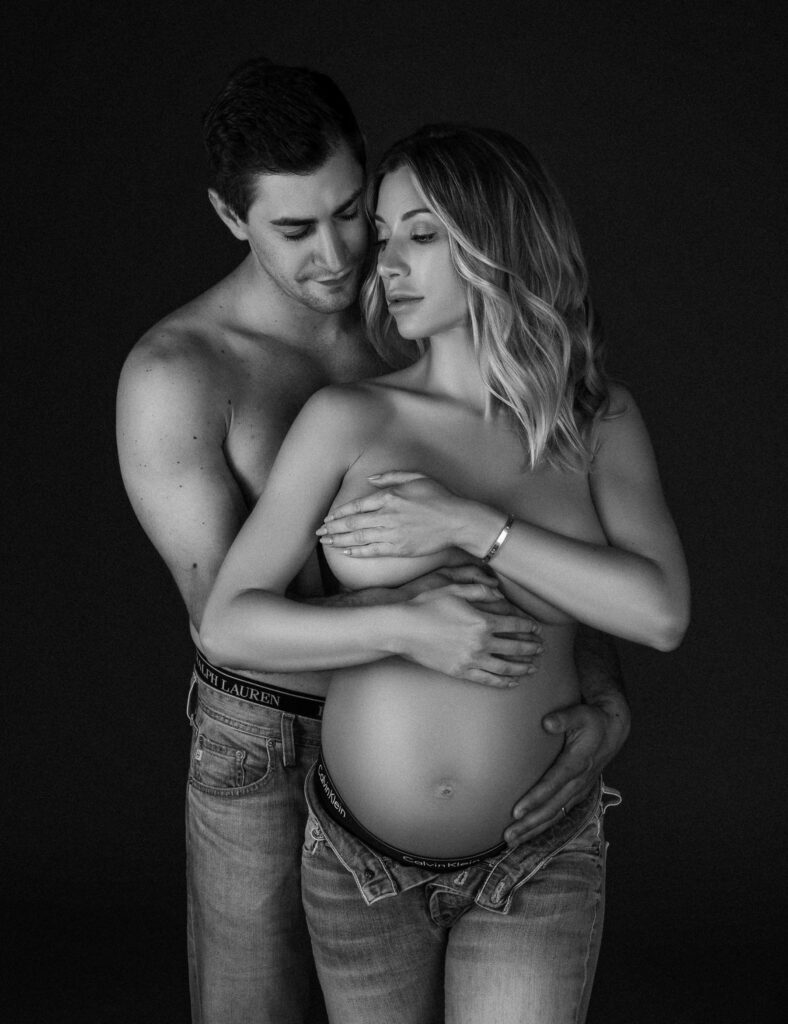
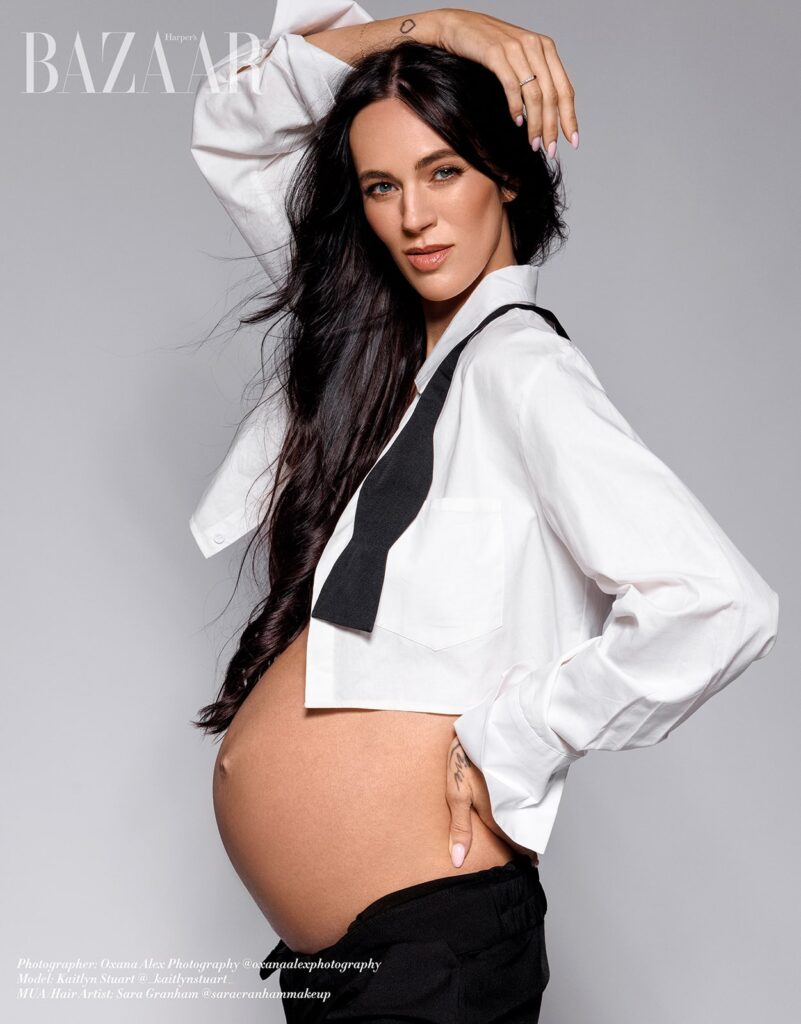
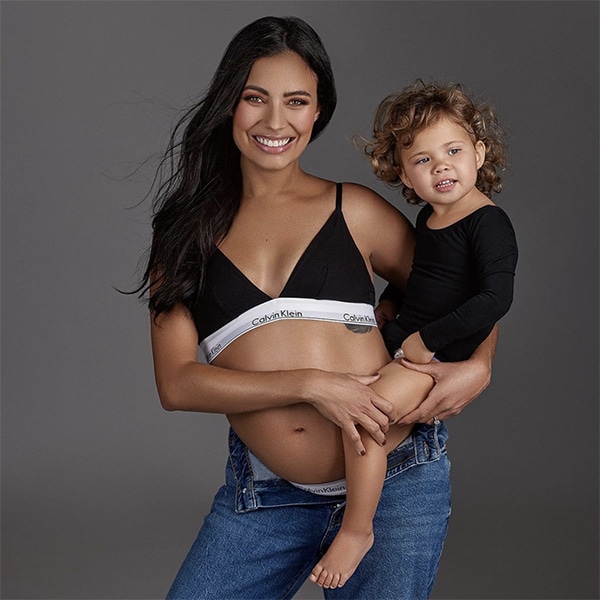
Family and Couple Posing
In family and couple portraits, spatial harmony matters more than ever. Everyone wants to look good in group photos, but more importantly, they want to feel emotionally connected. The secret is in the angles. Ask the partner to step slightly behind or to the side, never completely facing the camera, to maintain focus on the expecting parent. Position their head so it’s not too much higher than hers. This keeps the composition intimate.
Avoid the classic stiff “arms around each other” unless it happens naturally. Instead, guide hands with care. A partner placing a hand around her belly should do so with gentleness and intention. Watch the space between bodies, just a bit of space can give clarity, while a lean-in or light touch creates warmth. When posing children, use their natural energy. Let them rest a hand or lean in close, and don’t stress if it’s imperfect. That imperfection often creates the most genuine portrait session moment.
See Styling Ideas for Studio Maternity Couple Photography here.
Integrating Ambient and Artificial Light
Hybrid lighting is a powerful way to create natural-looking, cinematic portraits while still having full control. Starting with soft window light gives you that gentle falloff across the skin that maternity images are known for, but layering in a strobe or LED can help sculpt the body, emphasize shape, and keep your subject from blending into the background.
Let the window be your base, and then use a strobe bounced off a white wall to lift shadows, especially around the jawline or collarbone. This helps elongate the neck and gives you a flattering angle, particularly in a headshot or tighter portrait. A small LED behind her can add a bit of separation, catching the hair or the edge of the gown. These small lighting additions do a lot to define shape without making the image feel artificial.
It’s also a way to subtly influence the way your subject appears. By angling light toward the front of the camera and positioning her just slightly away from it, you can help her look slim without even adjusting the pose. Light placement can sculpt the bump beautifully and give the face dimension, which is especially useful when you’re trying to keep the shoulders open and the neck clean without adding tension. Just be careful not to lean the light too directly onto her, hard light straight on can flatten the features and make the photo look less refined.
Using Continuous Light for Motion and Posing Flexibility
Continuous light is incredibly helpful when you want full control over how light behaves in real time. Unlike flash, it allows you to see exactly how the highlights and shadows fall as your subject moves, which makes live adjustments much easier. This is especially useful for natural posing flows where the subject isn’t holding still, but shifting weight, adjusting posture, or engaging in subtle motion.
If your subject is slowly walking, turning, or shifting her stance, continuous light lets you adapt on the fly. You’re able to shape the light intentionally as her body moves, ensuring that facial angles, jawlines, and curves stay defined and flattering. Because you’re seeing the results as they happen, you can direct more fluidly, encouraging a chin tilt, a lean, or an arm bend at exactly the right moment.
It’s also a great solution for maternity photoshoot clients who may not know how to pose or who are feeling stiff. You can guide them gently through small changes, tilt their heads slightly, bring the shoulders forward, shift their weight to one leg, and watch how the light interacts with those micro-adjustments. This helps them look more natural and feel more confident in front of the camera.
And since continuous light allows for slower shutter speeds and wider apertures, you also gain more flexibility in your exposure and depth of field, which gives you added creative control without breaking the flow of the session.


Controlling Depth with the Inverse Square Law
The distance between light and subject changes the mood of the entire frame. The closer the light, the quicker the falloff. If you want a dramatic, moody image where the subject stands out from a softly fading background, keep the light close and pull your subject away from the wall. This helps sculpt the form while keeping the background subdued.
On the other hand, if you’re aiming for even light across the full body, especially helpful for poses that involve arms and legs extended or more complex compositions, pull the light further back and raise the power slightly. It’s a delicate balance, but once you master it, you can control the photo look with precision. This is a great tool when working with groups, too, especially when you’re positioning a partner or sibling furthest away from the light and need everyone evenly exposed.
Custom Gels for Mood and Tone
Color gels allow you to control mood right in-camera, which helps reduce post-processing and keeps the lighting intentional. A warm amber gel on a rim light can bring glow to the skin, helping her look radiant and polished. A cooler blue gel on the background can create separation and contrast, especially when she’s wearing soft, warm tones in fabric.
Use these color shifts carefully. They’re ideal when you want to control the photo look before editing begins. For clients who want to look more confident or have a particular mood in mind, romantic, peaceful, or dramatic, your color choices play a big role. Let the lighting and color work together with how you position the body and control the expression. That’s how you get great photos that feel both timeless and unique to the moment.
Post-Production
Good skin work keeps the texture. Use frequency separation if needed, but don’t overdo it. Dodge and burn will give you better control, lift the highlights gently across the collarbone, cheekbones, and shoulders. Darken the shadows under the jawline, beneath the bump, and near the arms to add depth without distorting the natural shape. Every adjustment should be intentional. You want her to look like herself, just at her most confident. Clean up distractions, enhance what’s already there, and leave the rest alone.
Some sessions call for warmth and softness, others benefit from contrast and clarity. Choose your grade based on what the image is saying. A subtle curve in her back, a serene gaze, these might call for pastel tones, lifted shadows, and a soft warm wash. Strong light, bold fabric, or structured poses might lean more cinematic with richer blacks and colder highlights. Color grading is mood. Don’t apply one preset across every image. Each one deserves its own care.
Vignettes pull the focus inward, but only if they’re subtle. Use radial filters to selectively brighten areas like the face, bump, or hands. Add contrast or warmth in these areas to draw attention without screaming for it. When done with care, these adjustments guide the eye naturally, reinforcing your composition.
Sometimes the perfect crop happens after the shoot. Adjust the frame to add tension or breathing space. A tighter crop might enhance intimacy, while a wider extension can give the subject more presence. If you’re extending a background digitally, match texture and lighting so it blends properly and seamlessly. These final tweaks should match your original intent and elevate the image to its highest potential.
Oxana Alex – Fashion Photographer in Los Angeles
At Oxana Alex Photography, we are open for booking in studio fashion and maternity photography sessions. Our studio is located at 2100 Sawtelle Blvd UNIT 307 Los Angeles, CA 90025, USA. You can see our photoshoot pricing here & our photography reviews here.
Conclusion
The most powerful maternity images don’t happen by accident. They’re built from dozens of small decisions, where the light falls, how she shifts her weight, the way her hand curves, the color in the shadows, the rhythm of your voice as you guide her. Mastery in this craft comes from staying curious, asking better questions, and trying new things, even when you already know what works.
Keep experimenting. Break your own habits. Study the way body language changes with every breath and how light carves emotion into the frame. Learn when to lean in, when to step back, and how to see each subject as a one-of-one story. Your signature style won’t come from trends, it comes from the patterns you notice, the instincts you trust, and the choices you make over time.
How do I schedule my session?
You can schedule your session by emailing [email protected] or by texting our studio at (310) 854-9695.

